
Introduction
Encountering a CPU fan speed detection error can be frustrating, especially when it prevents your computer from booting properly. This issue often arises due to hardware malfunctions, incorrect BIOS settings, or faulty fan connections. Ignoring this problem can lead to CPU overheating, causing severe damage to your system.
If you’re facing this error, don’t worry! This guide will help you understand the possible causes and provide step-by-step solutions to fix the CPU fan speed detection error and keep your system running smoothly.
What is a CPU Fan Speed Detection Error?
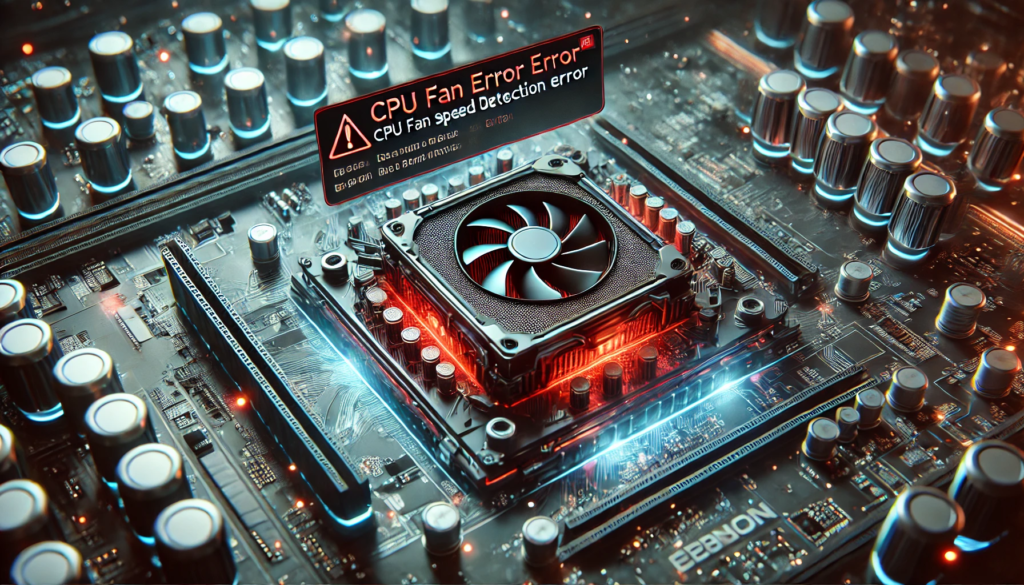
A CPU fan speed detection error occurs when the system fails to detect the fan’s revolutions per minute (RPM) correctly. It typically appears on startup with messages like:
- “CPU Fan Speed Error Detected! Press F1 to Continue”
- “CPU Fan Not Detected – Check Fan Connection”
- “Fan Speed Too Low – System May Overheat”
Ignoring this error can result in overheating, system instability, and hardware failure. Therefore, it’s crucial to address it immediately.
Common Causes of CPU Fan Speed Detection Error
Several factors can trigger this error. Here are the most common ones:
1. Improper Fan Connection
If the CPU fan is not properly connected to the CPU_FAN header on the motherboard, the system may fail to detect it.
2. Incorrect BIOS Settings
Misconfigured BIOS settings can prevent the fan from running at the optimal speed or even cause the system not to recognize it.
3. Dust Accumulation or Faulty Fan
Dust buildup can slow down the fan or stop it from working entirely, leading to detection errors.
4. Insufficient Power Supply
If the power supply unit (PSU) isn’t delivering enough power, the fan may not function correctly.
5. Using a Third-Party Cooling System
If you’re using an aftermarket liquid cooling system or a non-stock fan, the BIOS may not recognize it properly.
How to Fix CPU Fan Speed Detection Error
Follow these troubleshooting steps to resolve the issue:
1. Check and Reconnect the Fan
- Turn off your computer and unplug it.
- Open the CPU case and locate the fan connector.
- Ensure the fan is plugged into the CPU_FAN header, not the CHA_FAN or SYS_FAN headers.
- Restart your PC and check if the error persists.
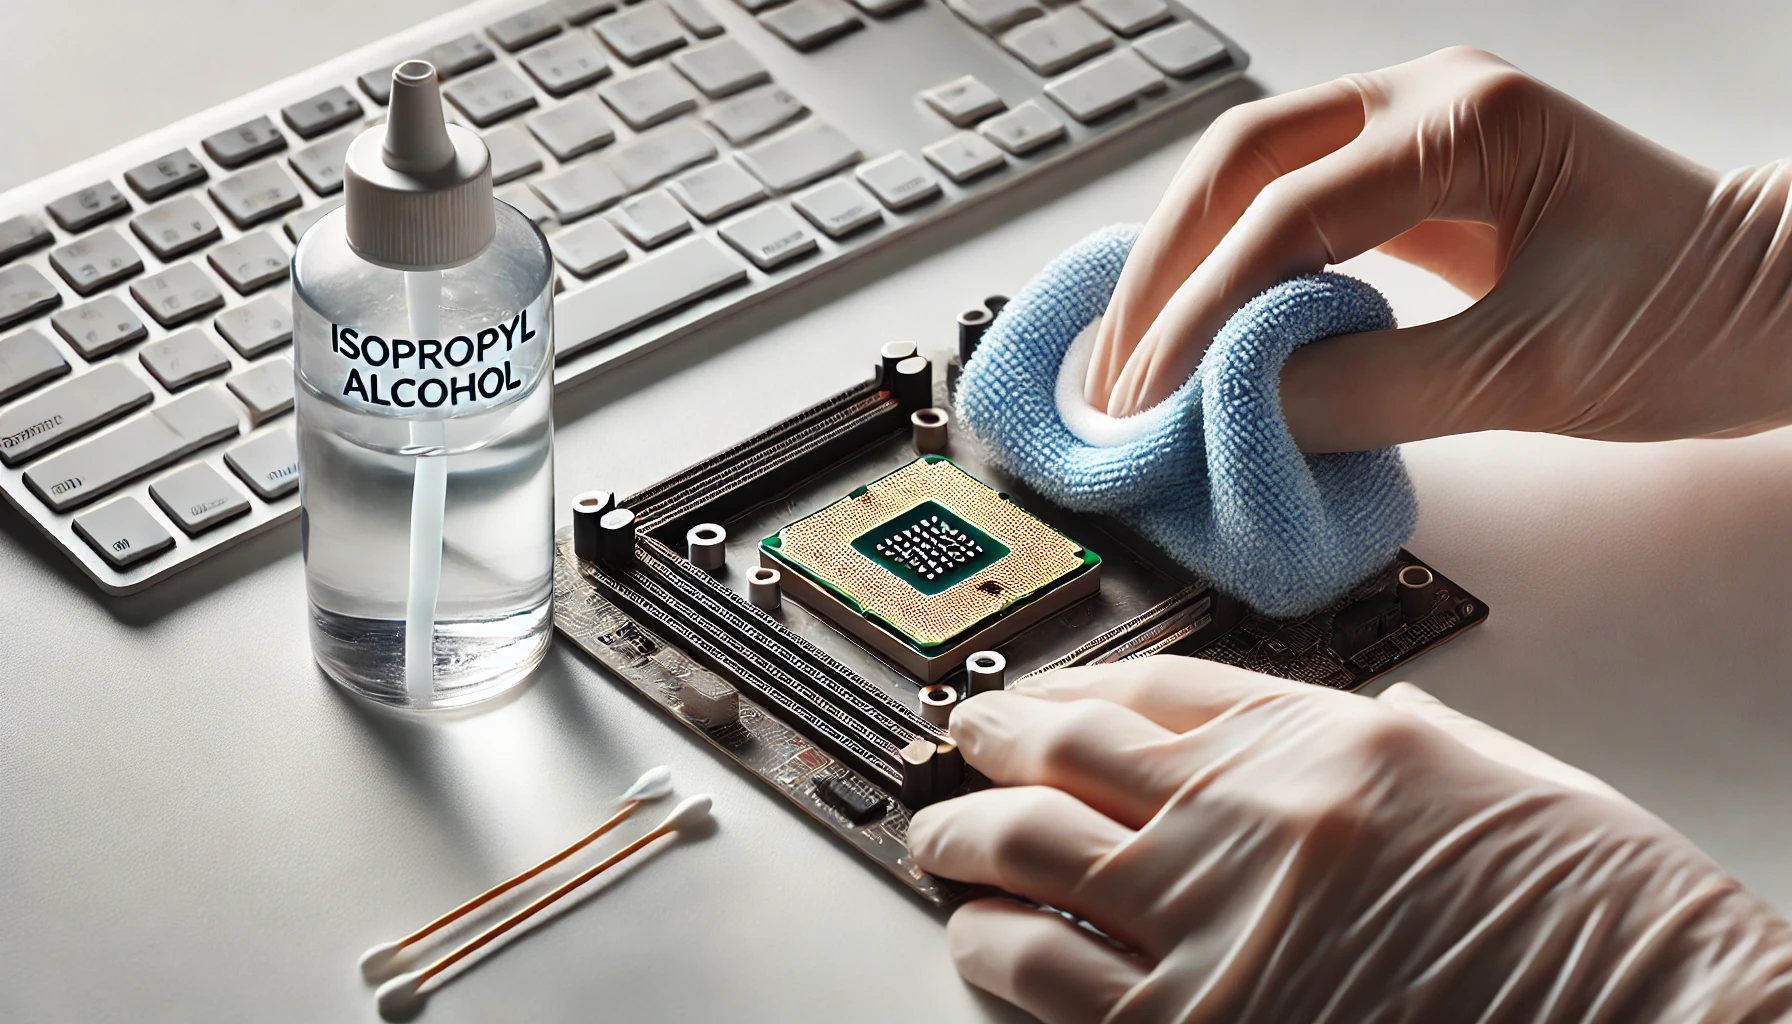
2. Clean the CPU Fan and Vents
Dust can clog the fan, causing it to spin slowly or stop. Here’s how to clean it:
- Use compressed air to remove dust from the fan blades.
- Wipe the fan housing and vents with a microfiber cloth.
- Reconnect the fan and check if the issue is resolved.
3. Adjust BIOS Settings
If the fan is connected correctly but still showing errors, tweaking the BIOS settings may help:
- Restart your PC and enter BIOS (Press DEL, F2, or F10 during startup).
- Navigate to Hardware Monitor/Fan Control Settings.
- Change the CPU Fan Speed setting to Ignore or Manual Mode.
- Save and exit BIOS, then restart your PC.
4. Replace or Upgrade the CPU Fan
If your fan is making noise or malfunctioning, replacing it is the best solution. Choose a high-quality, compatible fan to avoid future cooling issues.
5. Monitor Fan Speed Using Software
If you suspect irregular fan speeds, use monitoring tools like:
- HWMonitor
- SpeedFan
- MSI Afterburner
These tools provide real-time RPM data and can help diagnose cooling issues.
6. Update BIOS and Drivers
- Visit your motherboard manufacturer’s website to check for BIOS updates.
- Download and install the latest BIOS version.
- Ensure your chipset and fan control drivers are up to date.
7. Check Power Supply and Cables
A faulty power supply can cause fan speed errors. Try these steps:
- Test with a different power cable.
- If possible, replace the PSU to check if the issue is power-related.

When Should You Replace Your CPU Fan?
If none of the above solutions work, it may be time to replace your CPU fan. Signs that indicate a failing fan include:
- Loud grinding or clicking noises.
- The fan fails to spin at startup.
- Persistent overheating despite optimized fan settings.
Upgrading to a high-quality cooling system can improve CPU performance and extend hardware lifespan.
Best CPU Cooling Solutions
If you frequently experience CPU fan speed detection errors, consider upgrading to a better cooling solution:
- Air Coolers – Noctua NH-D15, Cooler Master Hyper 212
- All-in-One (AIO) Liquid Coolers – Corsair H100i, NZXT Kraken X63
- Custom Loop Cooling – Best for high-performance setups
Choosing the right cooling system can prevent future overheating issues and keep your CPU running efficiently.

FAQs
1. Can I ignore the CPU Fan Speed Detection Error?
No, ignoring it can cause CPU overheating and potential damage to your processor.
2. How do I disable CPU fan speed detection in BIOS?
Go to BIOS settings, navigate to Fan Control, and set CPU Fan Speed to Ignore.
3. What should I do if my fan is running but the error still appears?
Check BIOS settings, update your drivers, and ensure the fan is connected to the correct CPU_FAN header.
4. How do I check my CPU fan speed in Windows?
Use tools like HWMonitor, SpeedFan, or MSI Afterburner to monitor your fan’s RPM in real time.
5. Will upgrading my cooling system prevent this error?
Yes, a high-quality cooling system ensures proper airflow, reducing the chances of fan speed detection errors.
Conclusion
A CPU fan speed detection error can be frustrating, but with the right troubleshooting steps, it’s easy to fix. Whether it’s adjusting BIOS settings, cleaning the fan, or upgrading to a better cooling solution, following this guide will help you keep your system cool and error-free.
By taking these precautions, you’ll ensure optimal CPU performance, extend hardware lifespan, and prevent overheating issues in the future.